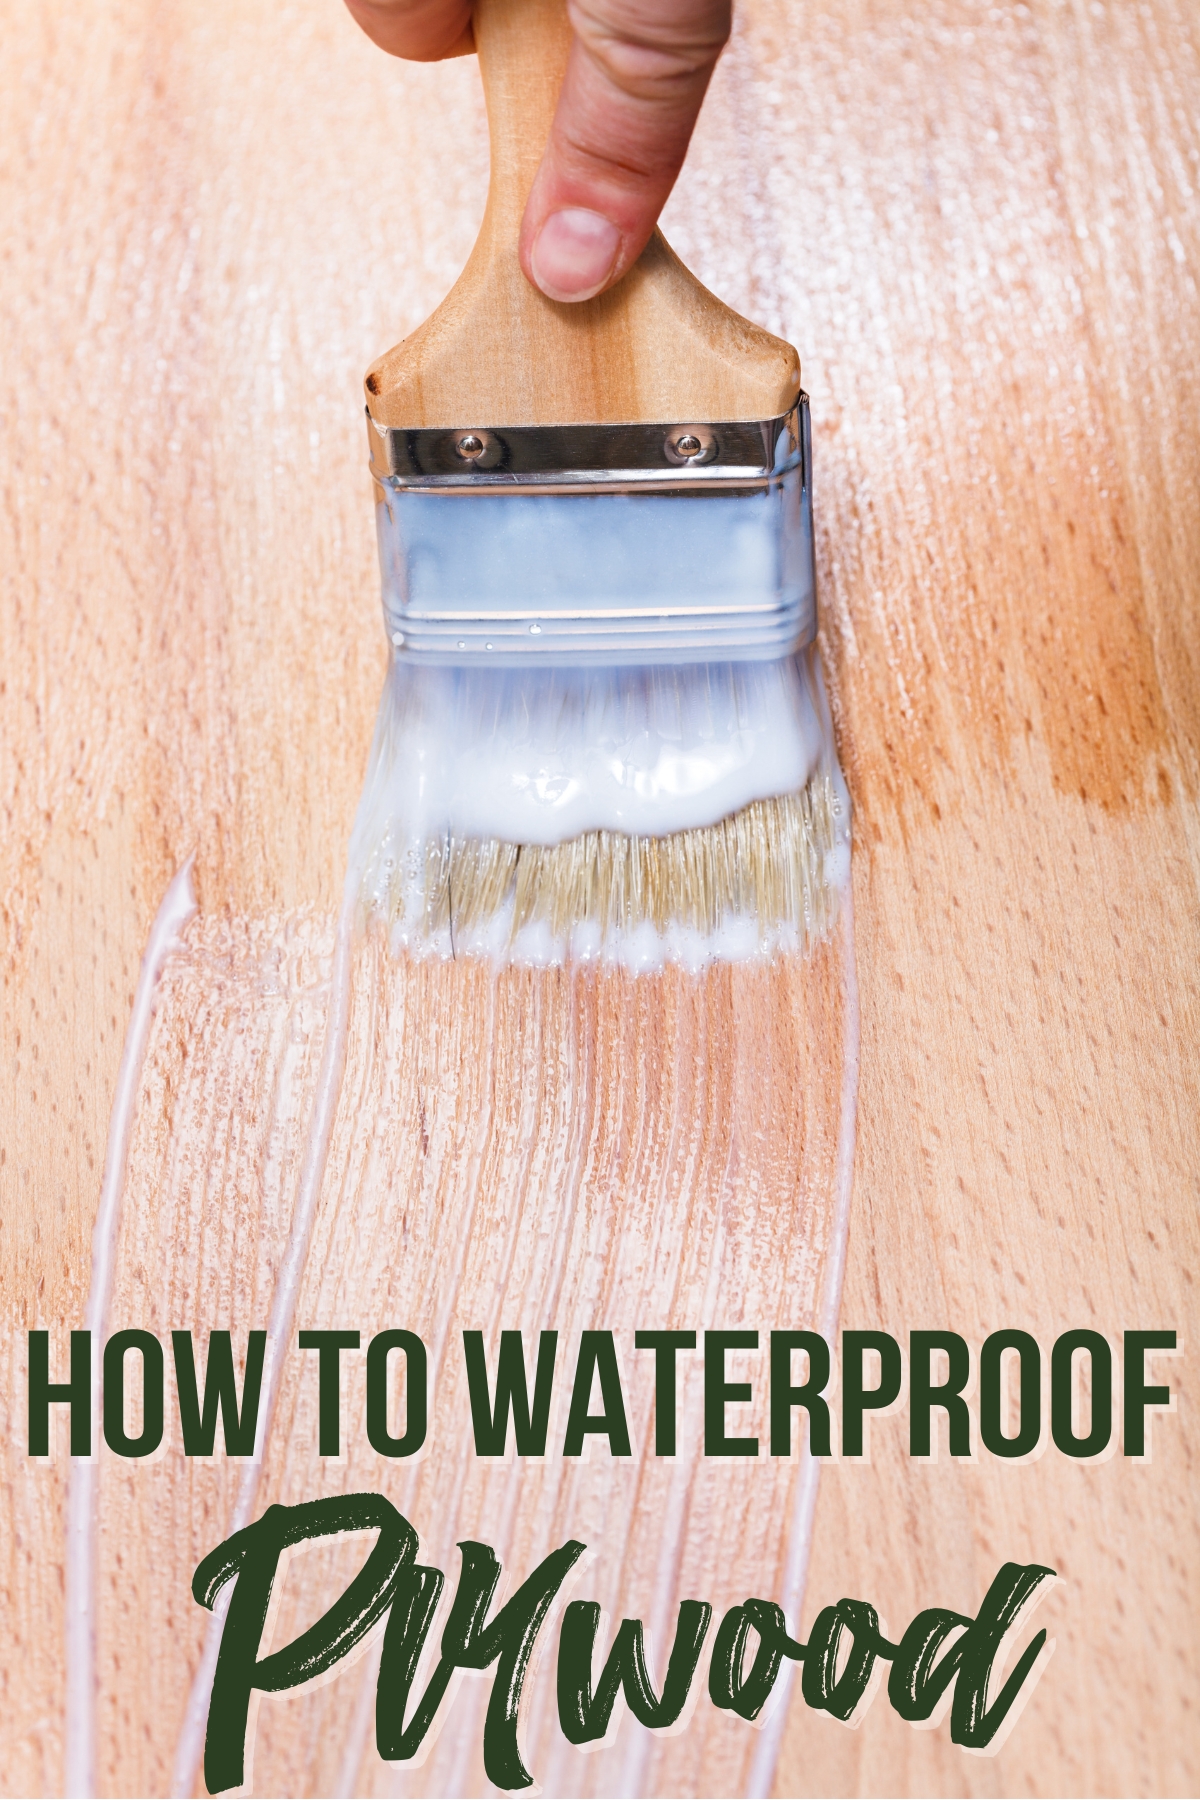
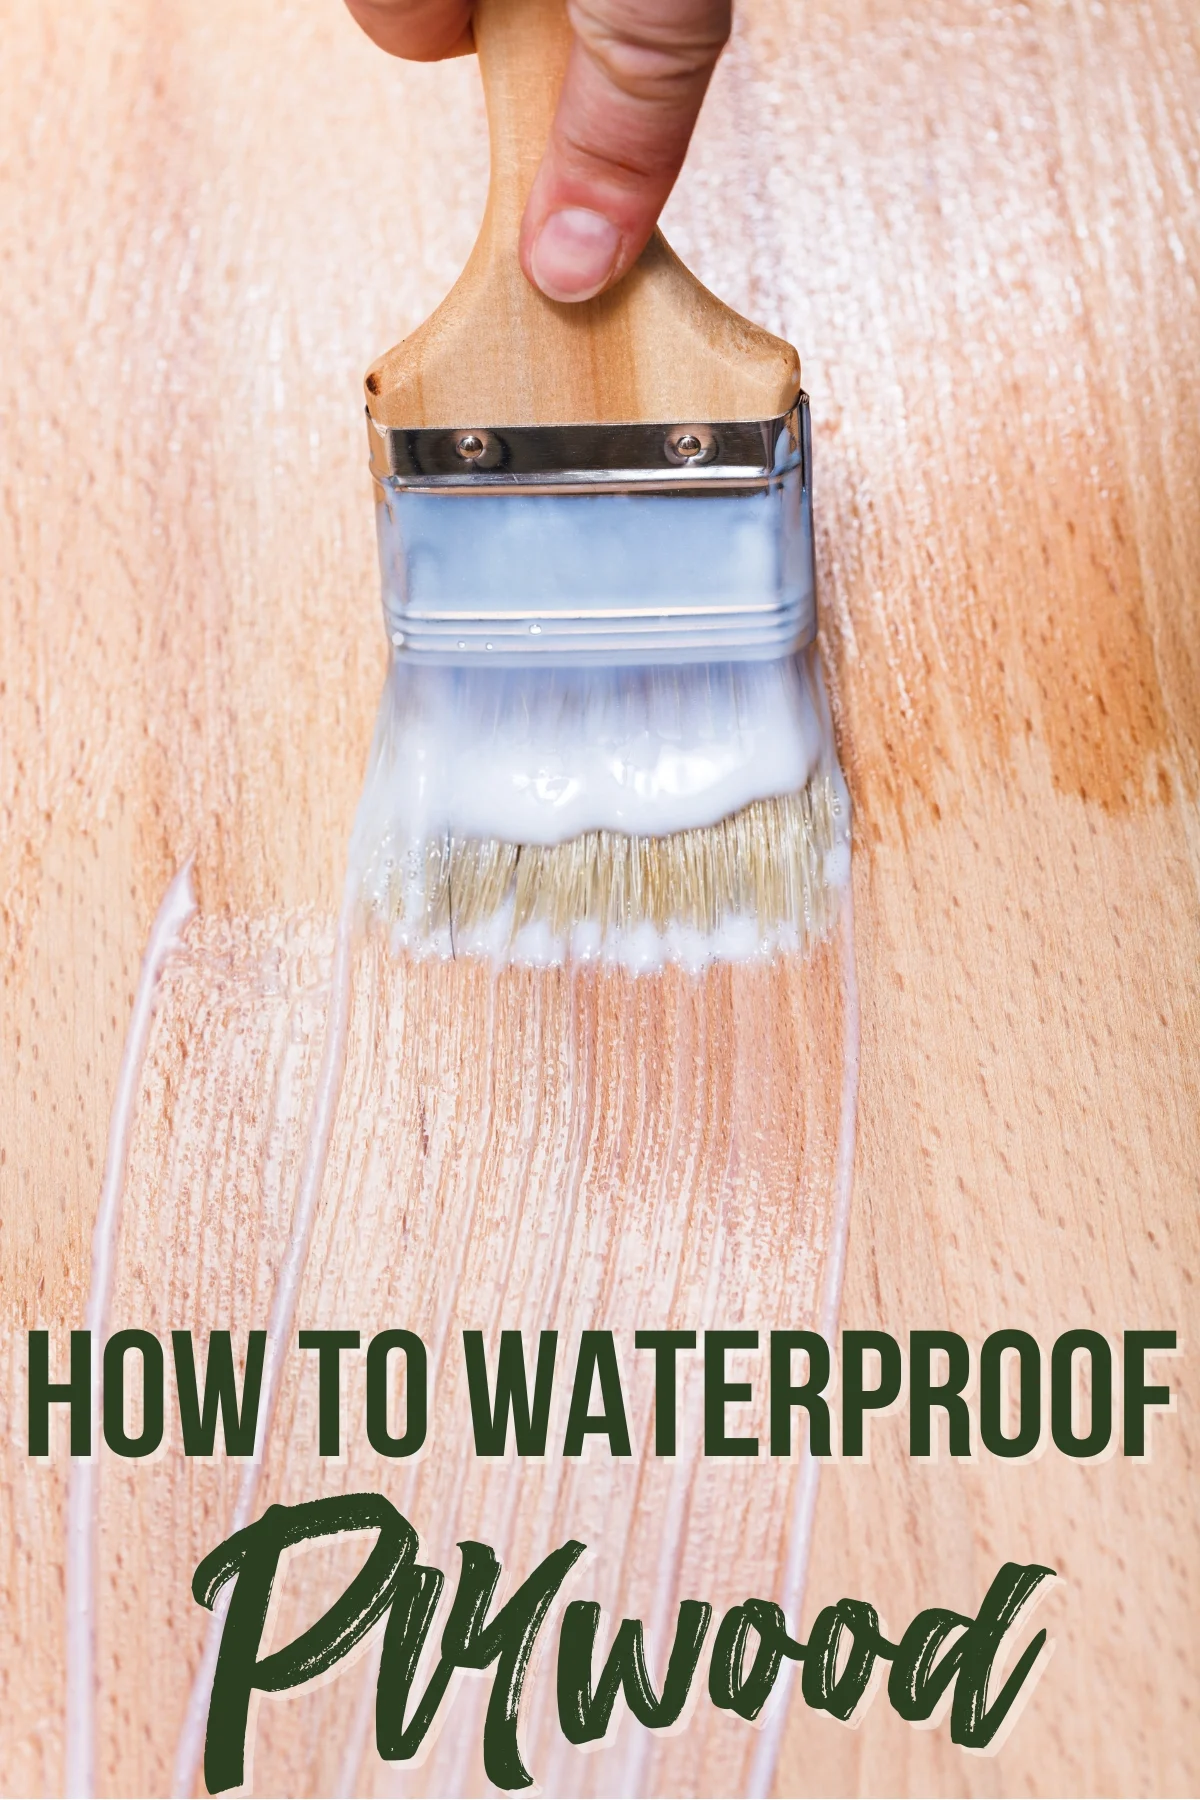
Learn how to waterproof plywood and protect it from rain and snow! Find out which products work best for waterproofing plywood for outdoor use!
Water can do a number on plywood. Without some protection, plywood can get swollen, warped, or even start rotting away when it gets wet. But there are ways to protect it from the elements!
Think about where the plywood will be located. If it's exposed to constant water, you'll need to approach waterproofing differently than if it will only experience occasional rain and humidity.
Plywood comes in many types, and there are a ton of products you can use to make the surface more moisture resistant. Whether you choose paint, polyurethane, epoxy or another type of sealant depends on the application and the look you're going for.
In this article, we'll talk about when you should waterproof plywood, the products you'll need, and mistakes to avoid!
This post contains affiliate links for your convenience. Purchases made through these links may earn me a small commission at no additional cost to you. Please visit my disclosures page for more information.
Why Should You Waterproof Plywood?
Plywood is made of a bunch of thin wood layers (or veneers) glued together. Those layers, as tightly bonded as they are, can be sneaky entry points for water. Once moisture finds its way in, it can cause problems like swelling, delamination, or even mold growth.
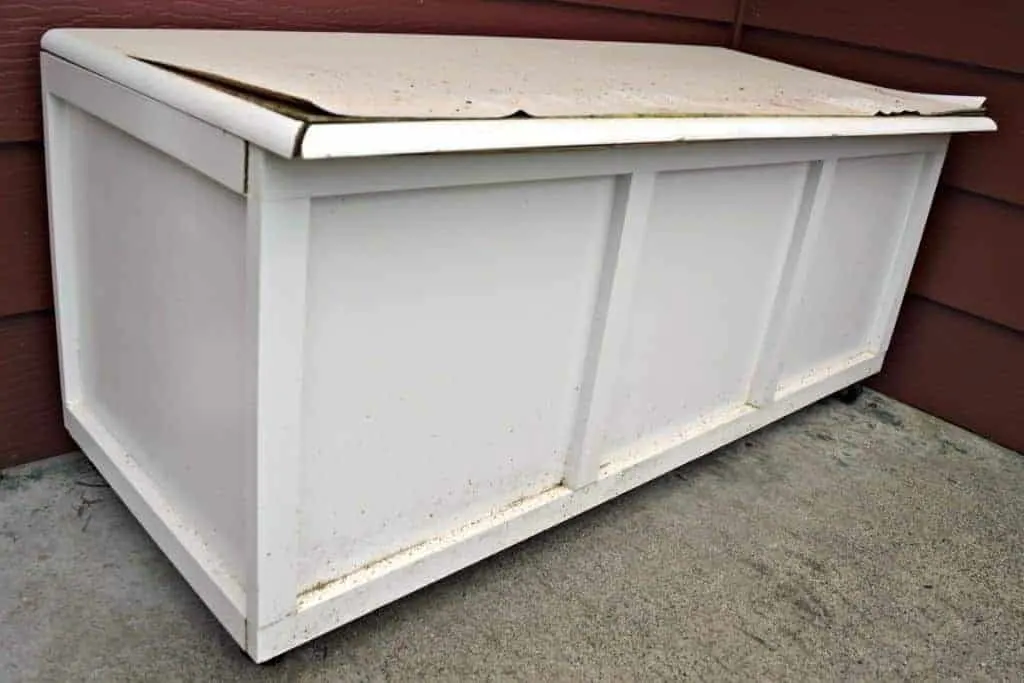
You can see how the plywood lid of this outdoor storage bench started to delaminate after the gutters above overflowed onto the front edge. Water dissolved the wood filler between the trim and the plywood edge, then worked its way into the plywood layers.

Is Treated Plywood Waterproof?
Pressure treated plywood is often water-resistant, which isn’t the same as waterproof. Many types of pressure treated wood have chemicals that reduce rot; however, they still need to be protected with some sort of a sealant to prevent delamination.


Unless it's a highly rated (and highly expensive) marine plywood or WBP (weather and boil proof) plywood, it won't be a match against the forces of regular water contact. These specialty plywoods are made with waterproof glue and treated wood, and are free of voids or knots that can be a weak point for water penetration.
What Products Should You Use to Waterproof Plywood?
There are several products you can use to create a protective layer and waterproof your plywood. All these products can protect plywood to varying degrees. Let's learn more about what they can do!
Rubber-like Sealants
This stuff is common for sealing roofs and the tops of RVs. It's very thick and fairly expensive. It's a great option when you need something more flexible or to cover odd-shaped areas.


There are many subcategories of rubber sealants, such as the brand names Flex Seal and Liquid Rubber. These products have different characteristics, but they all prevent water penetration and will make your project waterproof.
Epoxy
Epoxy is a thermosetting resin that undergoes a chemical reaction when mixed with a hardener. The result? A super-strong, durable, and water-resistant bond that’s hard to beat.


Once cured, epoxy forms an incredibly robust bond, making it resistant not only to water but also to various chemicals and UV radiation. Epoxy can be used both as a sealant and an adhesive. In some situations, epoxy can be used instead of wood glue for a stronger bond.
Polyurethane
Polyurethane offers a tough, resistant finish that can stand up to both abrasions and moisture. It can be combined with stain to create custom colors, or you can apply multiple layers to get a water-resistant sheet of plywood without hiding the wood grain.

Unlike some other sealants, polyurethane remains somewhat flexible after curing, allowing it to move with the wood during temperature fluctuations without cracking.
However, oil-based polyurethane can yellow over time, especially when exposed to direct sunlight. If retaining the wood's natural color is crucial, this is a factor to consider.

Keep in mind that there are interior and exterior grades of polyurethane, so choose the one that's right for your application. It's not the same as polycrylic, which is water-based and recommended for interior use. Check out this article for a detailed comparison of polycrylic vs polyurethane for more information.
Exterior Paint
Outdoor paint will provide some protection from the rain and the weather. However, it might need reapplication or touch-ups over time, especially in areas with extreme weather conditions.

Just be aware that you'll need to apply several layers for the best results, especially along exposed edges where you can see the plywood layers. Also keep in mind that over time, paint can chip and create weak spots for water to get through.
For extra insurance, you can apply a layer or two of clear polyurethane over exterior paint. However, if you're using white paint, polyurethane can cause it to yellow over time when exposed to UV light.
Seven Steps to Waterproof Plywood
When sealing plywood, the process will vary slightly depending on your sealant. Paint will act differently from epoxy, and so on. However, these steps will be pretty much the same for every product.
1. Choose the Right Plywood
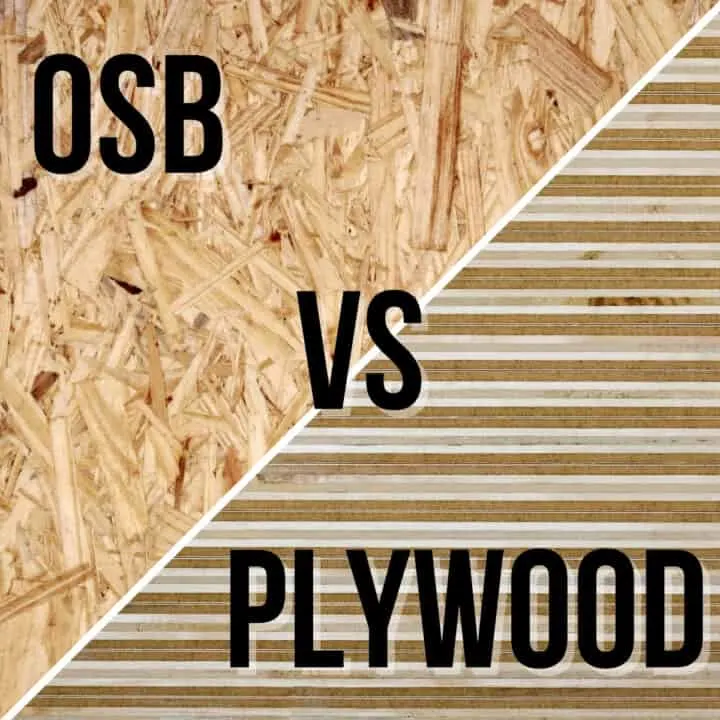
You can probably waterproof just about anything with the right product! However, you should still consider the material itself. There are many types of plywood available, but I would suggest using higher-grade plywood if you know you'll be near water constantly.

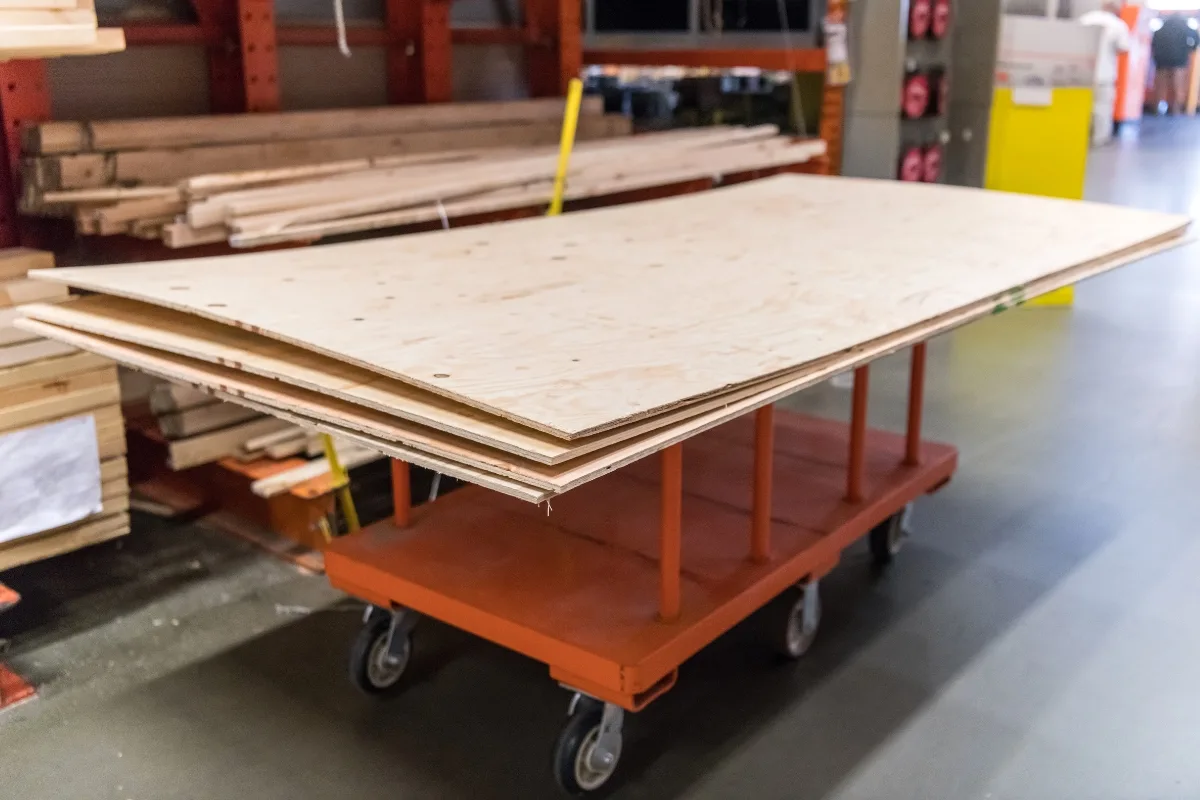
Higher-grade plywood will have less knots and voids, which means less chance for water to penetrate. Marine grade plywood is best, but can be difficult to find.
2. Choose the Best Product for Your Project
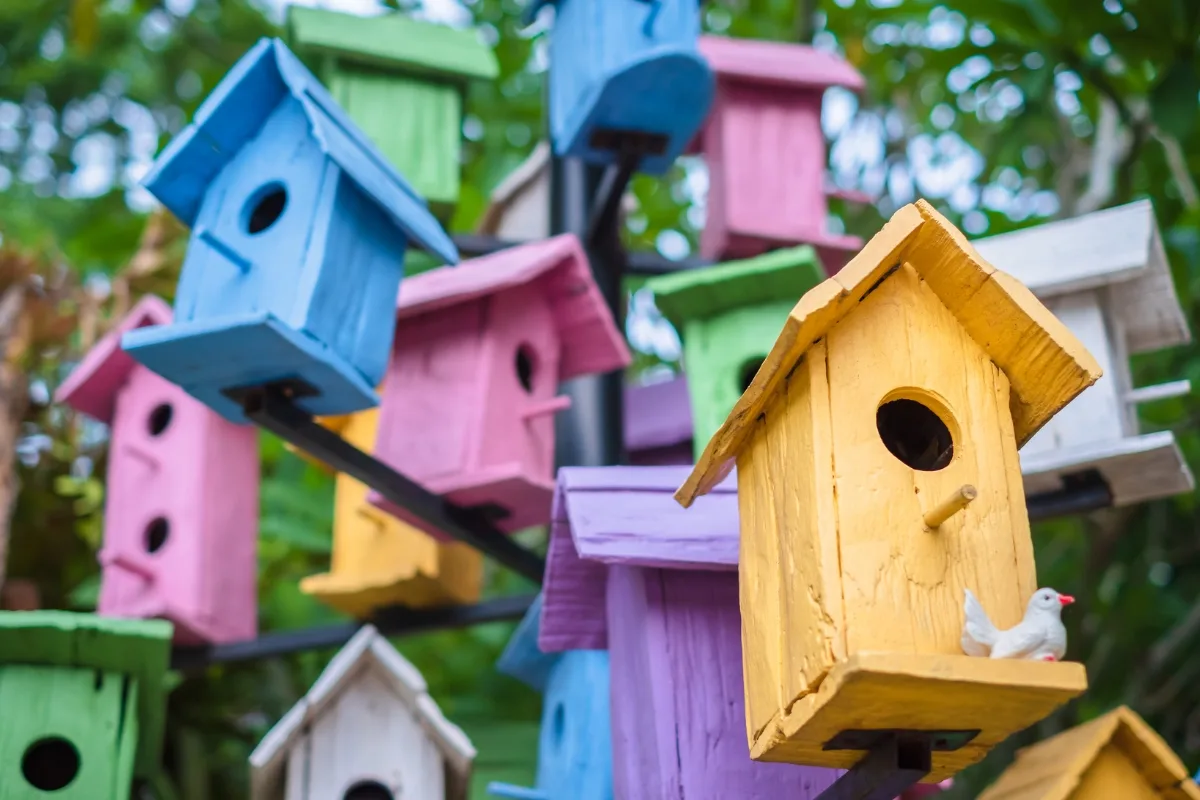
If you use paint for a dock in the water, you'll probably have problems! Likewise, epoxy on a birdhouse is probably overkill.

Think about how much rain or water will affect your plywood. If it's going to be on a covered patio that only receives a bit of moisture if the wind blows in rain during a storm, you don't need quite as much protection.
3. Wait for Good Weather
Try to wait for a stretch of sunny, dry weather. You need enough time to apply the product and allow it to dry and cure.
For smaller projects, you might be able to waterproof them in a workshop or garage and then carry them outside. However, keep in mind that you should also seal screws and fasteners that penetrate the wood - otherwise, water will creep in around them!
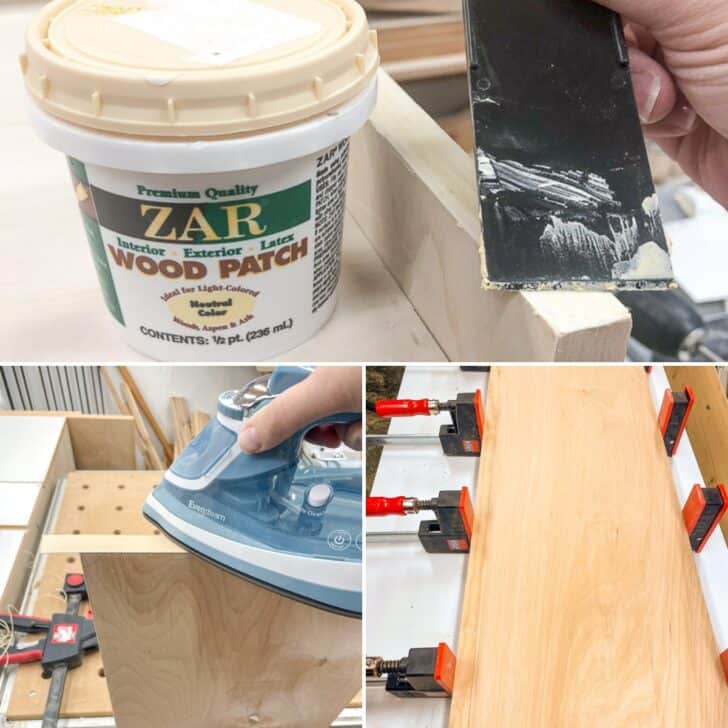
4. Use Wood Filler on Any Gaps
Gaps, cracks, and crevices are bad news when trying to waterproof a plywood board. Make sure you fill holes with wood filler that is rated for exterior use. This will give you a flat surface that allows water to run off.


Make sure you don't mix up all the different types of wood filler and wood putty. Check out my article on the difference between wood filler and wood putty!
5. Sand Everything Smooth
The surface doesn't need to be mirror smooth, but any jagged edges or areas will reduce the efficacy of the waterproofing agent. Take some low grit sandpaper and sand everything smooth, and then work up to 150-grit to remove any swirl marks.
6. Clean the Plywood
Make sure the plywood is clean. You can use a shop vac or air compressor to blow off any loose dust, then wipe the surface with a tack cloth to pick up any stubborn particles.

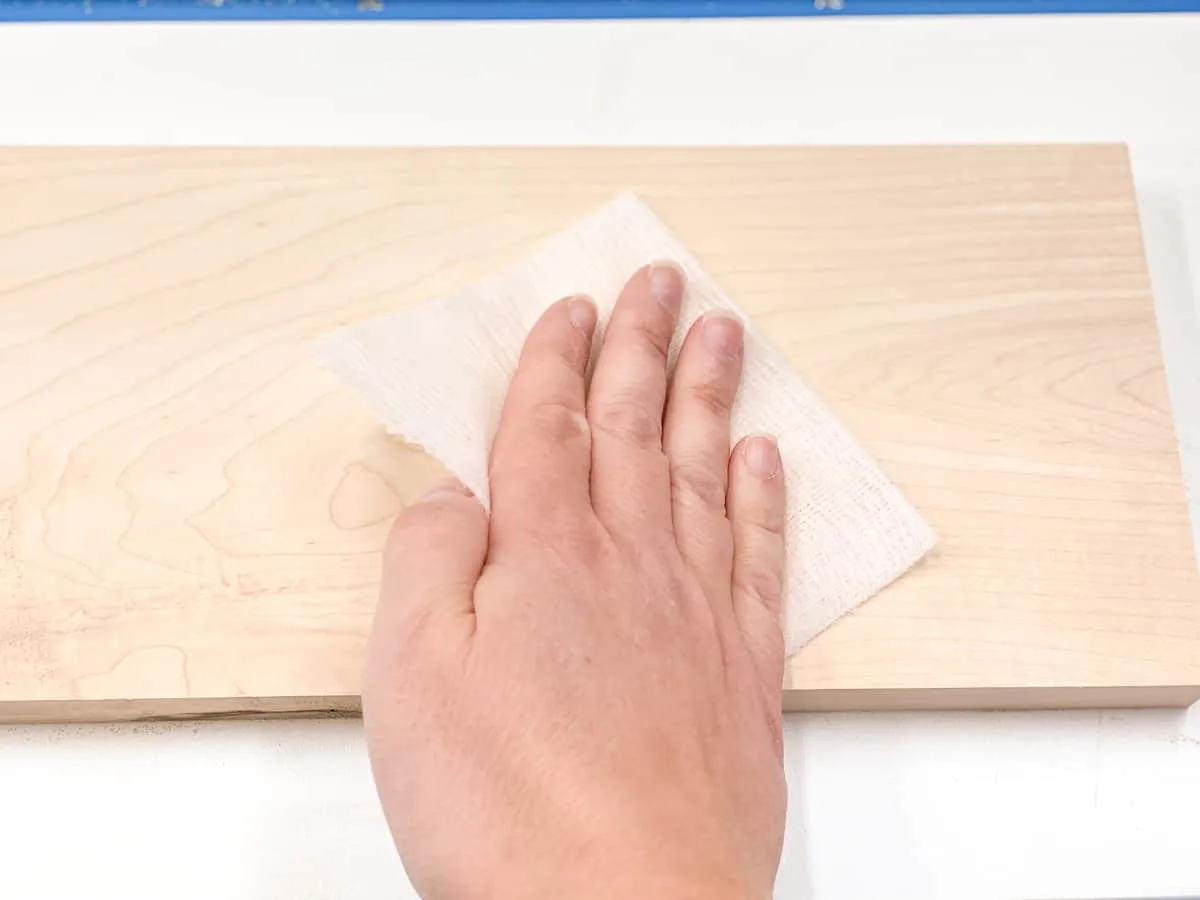
Also, be sure the plywood is perfectly dry! You're trying to make it waterproof, so it would be wise to avoid locking in the moisture.
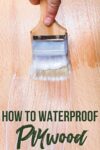
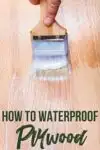
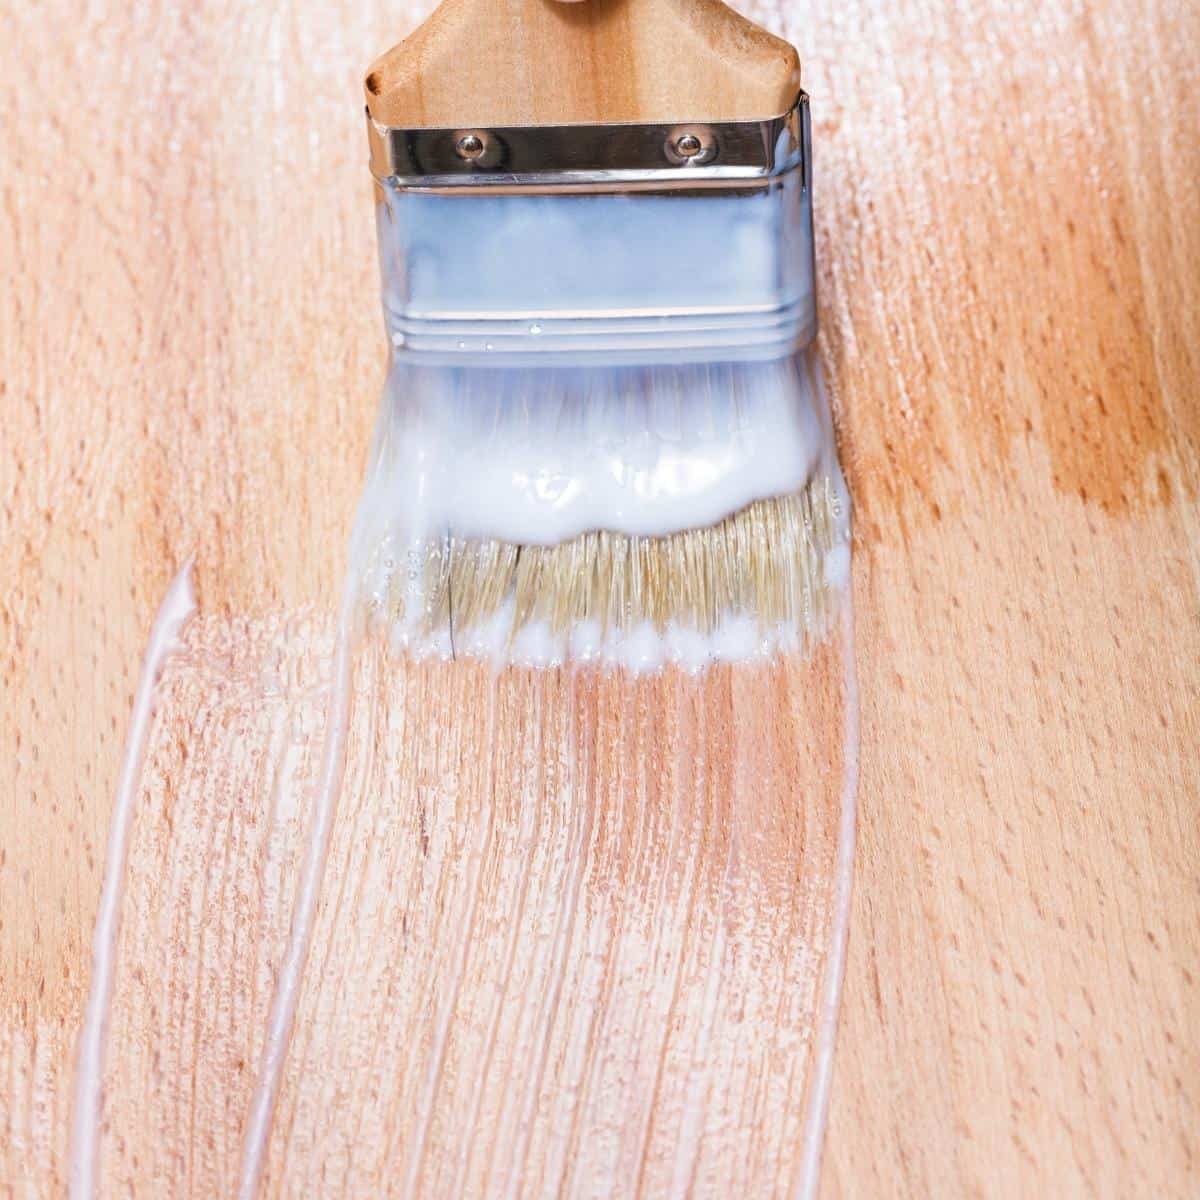
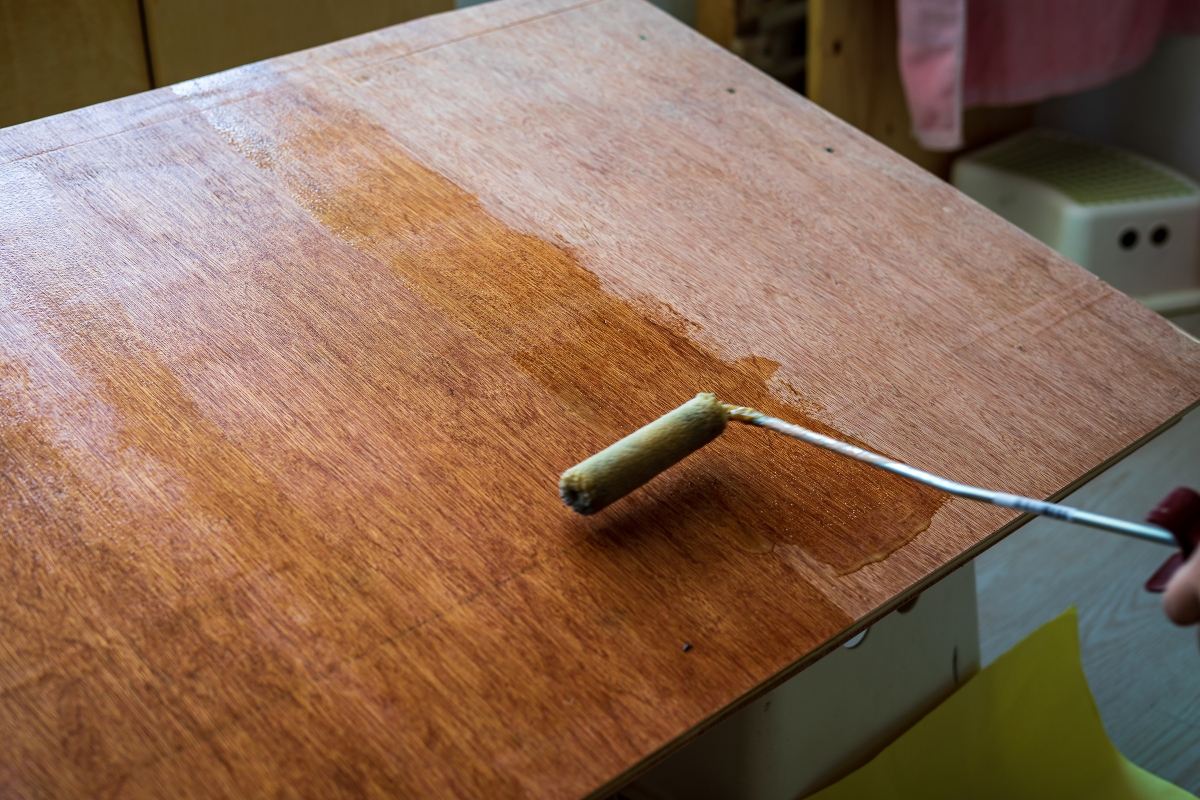
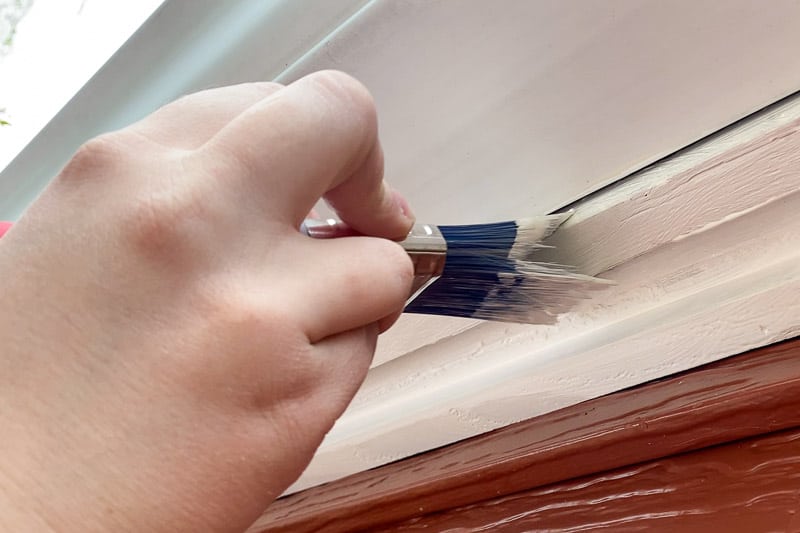
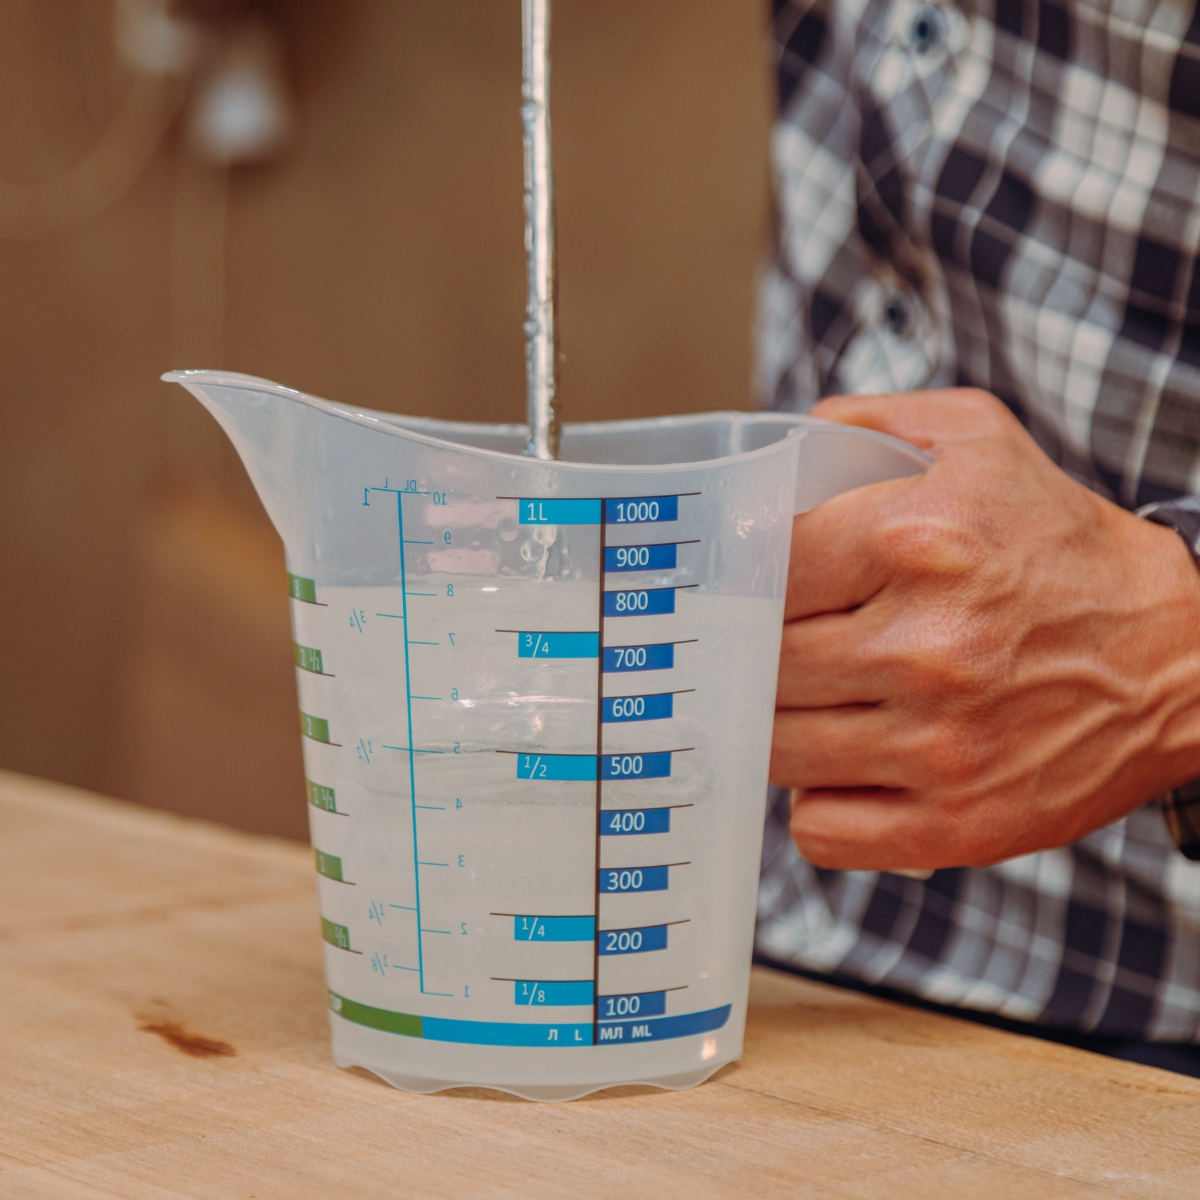
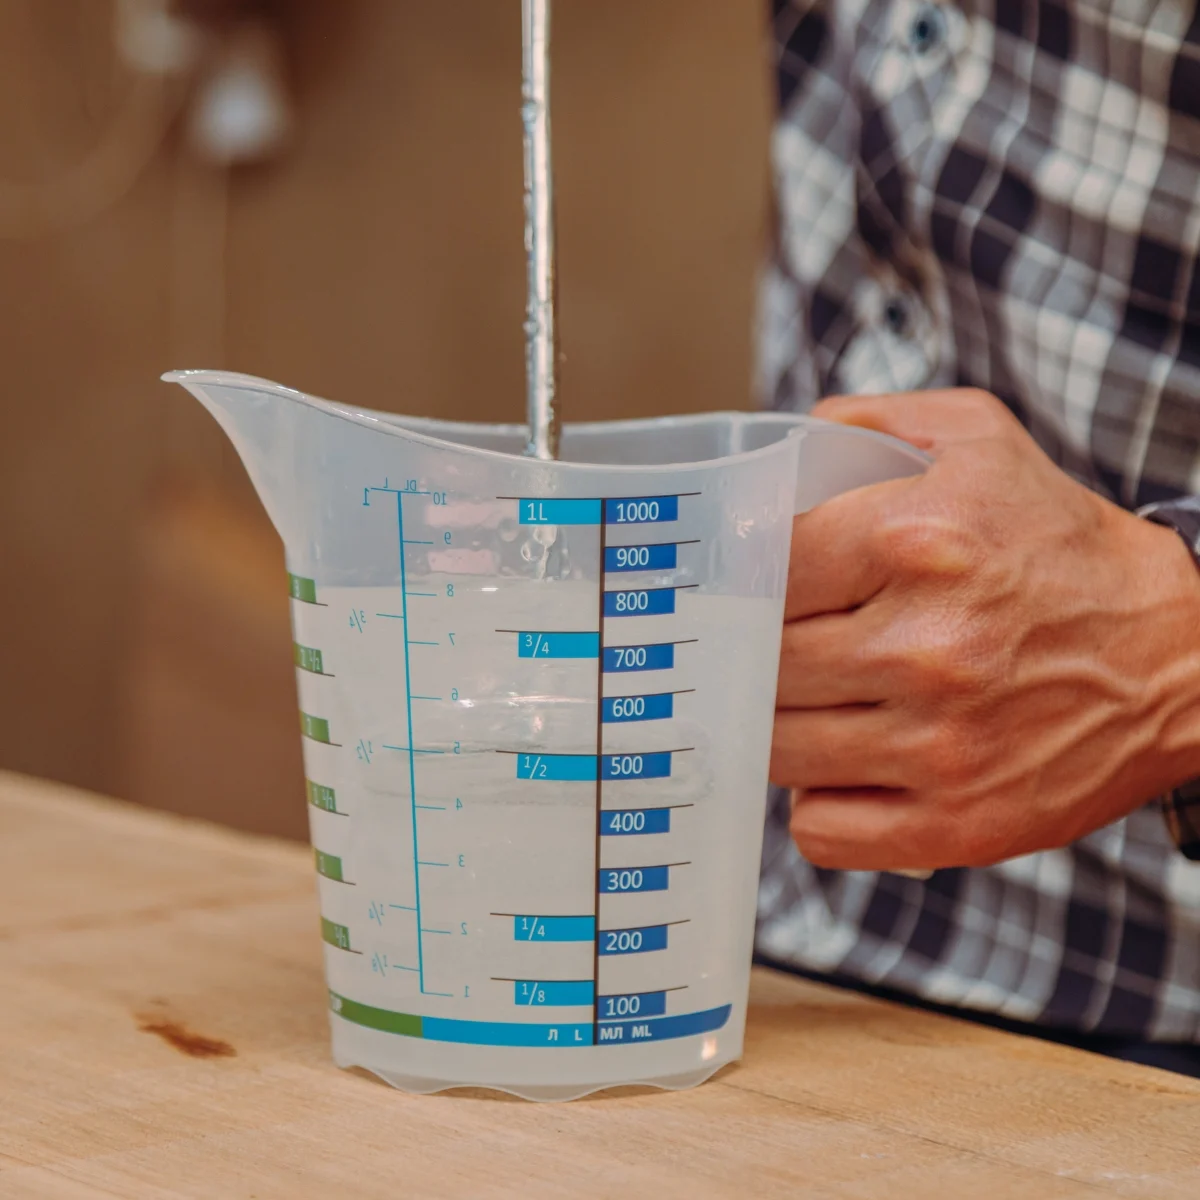
7. Apply the Waterproofing Product
Follow the manufacturer's guidelines for mixing the product. If you can, take some time and test it out in a small area or scrap piece of plywood first to get a feel for how it works.
You can either roll your product on with a paint roller or use a paintbrush. Take care to cover every inch! Even a pin-sized hole is enough for water to penetrate!
Take the time to examine the surface once its sealed. Use a raking side light to spot any areas that may have been missed, and reapply as necessary.
Hopefully, this article gave you some good ideas for waterproofing plywood projects. If you take the time to waterproof plywood correctly, it will last for many years.
Let me know how your plywood projects have held up to the rain, and what you did to stop the water!
Check out these other articles about plywood!